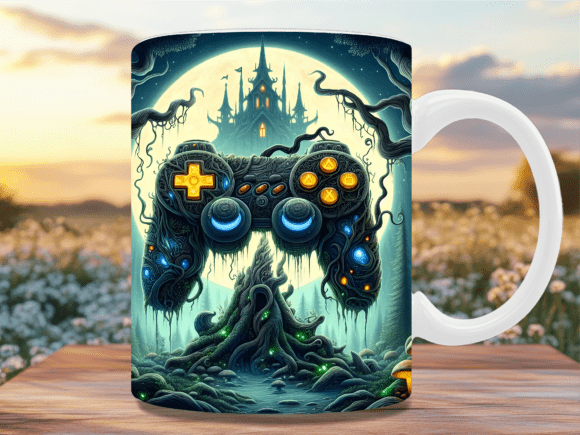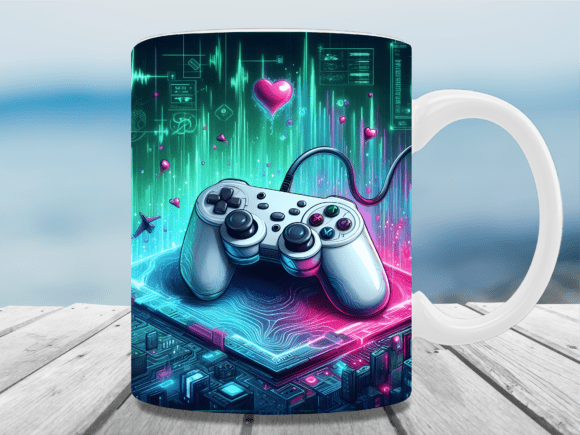
Gaming Controller Neon Vibes Mug Wrap: Essential Tips for Perfect Sublimation
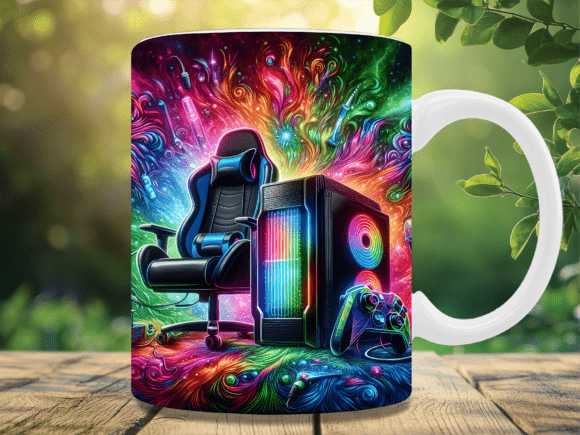
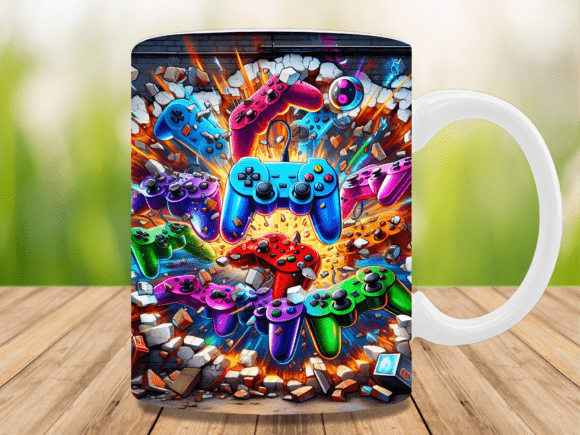
If you’ve ever wanted to turn a plain ceramic mug into a glowing tribute to late-night gaming sessions, the Gaming Controller Neon Vibes Mug Wrap is a design that demands your attention. This digital sublimation wrap captures the energy of neon lights and classic controller shapes, making it an instant hit with gamers, streamers, and anyone who loves a pop of color on their morning coffee. But as with any sublimation project, the difference between a mug that wows and one that disappoints often comes down to small, overlooked details. Whether you’re a seasoned crafter or just starting out, understanding how to choose, use, and apply this wrap correctly will save you time, materials, and frustration.
What Is the Gaming Controller Neon Vibes Mug Wrap?
In short, it’s a high-resolution PNG file designed for sublimation printing onto mugs. The wrap comes in three standard sizes—11 oz, 12 oz, and 15 oz—each with specific dimensions: 11 oz templates measure 8.5 x 3.75 inches, 12 oz templates are 9 x 4 inches, and 15 oz templates are 9.5 x 4.75 inches. The design features a neon-infused controller motif, perfect for custom gifts or personal use. Because it’s a digital download, you receive only the file; there is no physical mug, paper, or ink included. That distinction is critical, and failing to understand it is one of the first mistakes people make.
Mug Size Matters: Picking the Wrong Template
A surprisingly frequent error is assuming that one size fits all. An 11 oz mug and a 12 oz mug may look similar, but their surface dimensions are different. Using an 11 oz wrap on a 12 oz mug means the design won’t reach edge to edge, leaving white gaps. Conversely, a 15 oz wrap on a standard 11 oz mug will overhang, causing distortion when pressed. Always measure the exact height and circumference of your mug before you download or print. If you’re buying for resale, confirm which mug sizes you plan to use. The dimensions provided—8.5 x 3.75, 9 x 4, and 9.5 x 4.75—are your guide. Print a test on paper and wrap it around your mug first to ensure a perfect fit.
Overlooking Bleed and Margins: The White Gap Problem
Even with the correct template size, you can end up with a thin white strip along the edge if you haven’t accounted for bleed. The wrap should extend slightly beyond the exact mug dimensions so that after pressing, the design covers completely. Many beginners center the artwork right on the template outline, leaving no room for slight shifting during pressing. To avoid this, keep important elements—like text or the controller’s thumbsticks—at least 0.25 inches inside the template edges. Let background colors or patterns extend to the full template boundary. This way, even if the wrap shifts a millimeter, you won’t see exposed ceramic.
Assuming a Physical Mug Arrives in the Mail
It happens more often than you’d think: someone excitedly buys a “mug wrap” only to be confused when they receive a digital file instead of a printed mug. The product description clearly states “digital download only – no physical item will be sent,” but in the rush to find a unique design, this line gets skipped. Understanding this upfront saves disappointment and helps you plan your process. You will need a sublimation printer, sublimation paper, heat tape, a heat press (or convection oven for mugs), and a polymer-coated mug. If you’re new to sublimation, the Gaming Controller Neon Vibes Mug Wrap is a great project to learn on—but not if you expect a ready-to-ship mug. Read the listing thoroughly before purchase, and ask the seller if you’re unsure about file format or resolution.
Ignoring Print Settings and Resolution
Because the files are supplied at 300 DPI, you’re set for sharp output—but only if you don’t accidentally downscale or print at lower quality. Some people drag the PNG into a document and unknowingly resize it, losing pixel density. Others print on regular paper instead of sublimation paper, or forget to mirror the image. For sublimation, the design must be printed in reverse (mirrored) so it transfers correctly. Before you hit print, check that your software is set to 300 DPI, “actual size” or “100%” scaling, and that mirror is enabled. If your printer driver asks for paper type, choose the appropriate sublimation paper setting. A quick test print on a plain sheet of paper (not mirrored) lets you see the layout and verify size without wasting sublimation materials.
Pressing at the Wrong Temperature or Time
Even a perfectly printed wrap will fail if your heat press temperature or dwell time is off. Common issues include ghosting (double images), faded colors, or burnt paper that sticks to the mug. For most standard mugs and sublimation inks, a press temperature of 380°F–400°F (193°C–204°C) for 60 to 90 seconds works well. But each mug and ink may vary; the key is to test. Use a cheap mug or a piece of scrap to dial in your settings before you commit to the Gaming Controller design. Also, ensure the wrap is secured tightly with heat tape to prevent movement. A loose wrap can create blurry edges that ruin the neon effect. Record your successful settings so you can repeat them, and always let the mug cool before handling.
What to Check Before You Download
Before you click “buy,” take a moment to verify these details:
- File format and resolution: Confirm the listing offers PNG files at 300 DPI. Some sellers provide multiple formats (PNG, JPEG, SVG) but for sublimation, high-res PNG with a transparent or white background is ideal.
- Included sizes: Make sure the bundle covers the mug sizes you actually use. Many sellers include 11 oz, 12 oz, and 15 oz in one purchase, but double-check.
- Commercial use rights: If you plan to sell the finished mugs, read the license. Some designs allow unlimited commercial use; others restrict you to personal projects.
- Bleed and safe zone markings: Professional templates often include a dashed line for the safe zone and a solid line for the trim. If the PNG doesn’t show these, add them yourself in your editing software.
- Customer reviews: Look for feedback from other sublimation users. They often mention whether the colors match the preview and if the sizing was accurate.
Checking these points takes five minutes and can prevent a download that doesn’t suit your needs.
How to Get the Best Results from Your Gaming Controller Neon Vibes Mug Wrap
Once you’ve chosen the right size and printed your file, the actual application process matters just as much. Start with a clean mug—any oil or dust will cause uneven adhesion. Use heat-resistant tape to attach the sublimation paper firmly, positioning the wrap so it overlaps slightly at the seam. If your mug has a handle, the seam should be placed opposite the handle or high enough that the design wraps fully around. For neon designs like this, white mugs with a glossy polymer coating yield the most vibrant colors. Darker mugs will appear muddy because sublimation inks are translucent.
When pressing, apply firm, even pressure. If your heat press doesn’t have a mug attachment, a convection oven works, but you’ll need to wrap the mug in butcher paper and secure it tightly. The neon vibes of the design demand clean lines; any blurring immediately kills the glowing effect. After pressing, peel the paper while the mug is still warm (but not hot) to see the final result. If colors look dull, bump up temperature by five degrees or add ten seconds in your next test.
Final Considerations
The Gaming Controller Neon Vibes Mug Wrap is more than just a pretty design—it’s an opportunity to create personalized gifts that resonate with gamers and retro-futurism fans. But to make the most of it, you must treat it as a digital tool, not a finished product. By carefully matching template size to mug, respecting bleed margins, using proper print settings, and fine-tuning your press technique, you transform a simple download into a professional-grade item. Avoid the rush and the shortcuts, and you’ll produce mugs that people will reach for every morning.